A guide to logging hours against projects and tasks
Overview
OneSuite’s Time Tracking feature lets you and your team log hours against projects and tasks in real time. Entries can be marked as billable and later converted into client invoices, making this feature essential for hourly-billed contracts.
Enabling the Timesheet Module
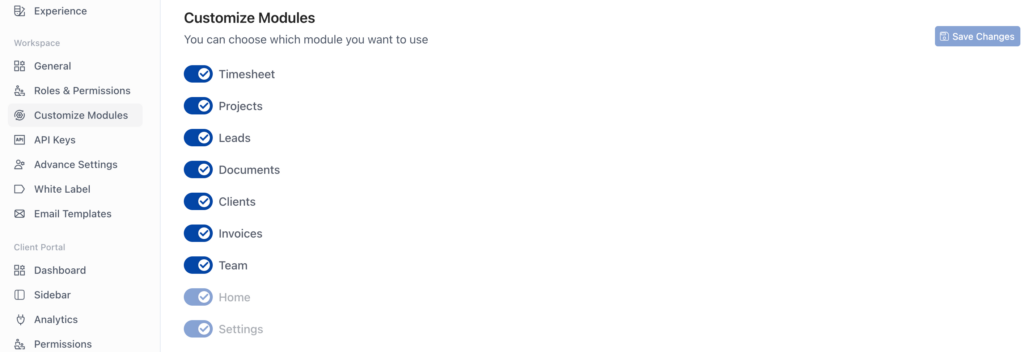
Before using Time Tracking, ensure the Timesheet module is enabled in your account settings.
- Go to Settings.
- Select Customise Modules.
- Click on Timesheet to toggle it on.
- Click Save Changes.
| Note: To disable the module, return to Customise Modules, turn off Timesheet, and save. |
Starting a Timer
The timer can be started from the top-right corner of the application or directly from within a project task.
From the Application Header
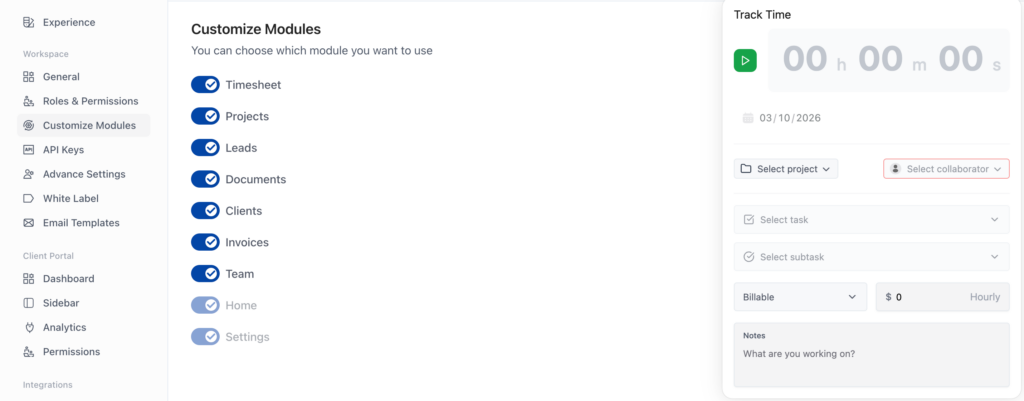
- Click the timer icon in the top-right corner.
- Click Start Timer.
- Configure the timer fields as needed (see table below).
- Click Start to begin logging time.
| Field | Description |
| Project | Select the project to log time against. |
| Collaborator | Assign the entry to yourself or a team member. |
| Task | Choose a specific task within the selected project. |
| Availability | Set your status to Available or Not Available. |
| Hourly Rate | Enter the billing rate per hour. Use a placeholder (e.g., $1) if needed and update before invoicing. |
| Notes | Add any relevant notes about the work being performed. |
From a Project Task
- Open any project and switch to the List view.
- Click on a task to open its detail panel on the right.
- Locate the Time Tracking icon in the task panel.
- The timer works the same way as the main application timer.
Timer Controls
While a timer is active, the following controls are available:
| Control | Action |
| Pause | Temporarily pause the running timer without discarding the entry. |
| Keep Entry | Save the current time entry to your timesheet. |
| Discard | Delete the current time entry without saving. |
| Reset | Reset the timer back to zero. |
Timer Limits
| Note: The minimum loggable duration per entry is 1 hour. The maximum is 8 hours. If you forget to stop the timer, it will automatically stop after 8 hours. |
Summary
With OneSuite’s Time Tracking feature, you can:
- Start timers from the app header or directly from project tasks.
- Assign time entries to projects, tasks, and team members.
- Mark entries as billable and set hourly rates.
- Use timer controls to pause, save, or discard entries.
Once time is logged, entries are accessible from the Timesheet view for approval and invoicing. Refer to the Timesheet and Invoice guides for next steps.