The Client Portal is one of your most powerful tools for building client trust and delivering a professional experience. OneSuite gives you full control over how your portal looks, what clients can access, and how you track their engagement — all from a single settings area.
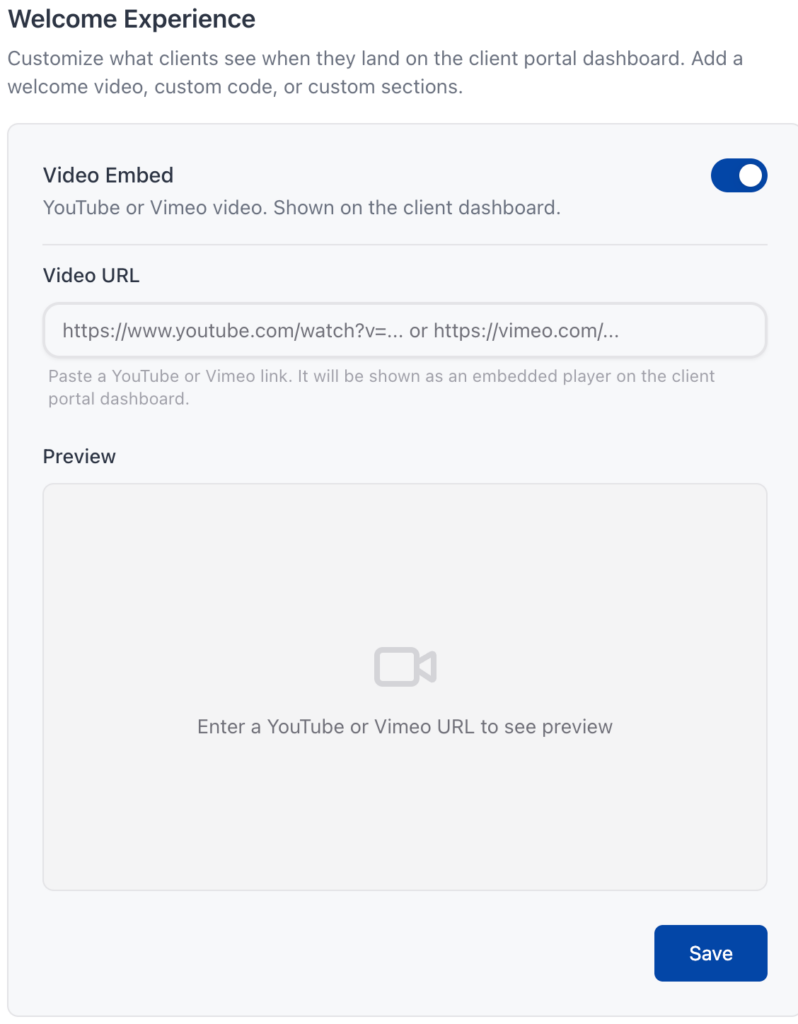
Adding a Welcome Video to the Dashboard #
You can display a video on the client portal dashboard — a great way to welcome new clients, explain your process, or set expectations from the start.
To add a dashboard video:
- Go to Settings in the sidebar.
- Navigate to Client Portal Settings.
- Click Dashboard.
- Paste your YouTube URL into the video field.
The video will appear directly on the dashboard when your client logs into their portal.
Customizing the Sidebar #
The sidebar is the main navigation your clients see inside the portal. You can control exactly what they see, hide modules that aren’t relevant, reorder links, and add custom links like your website, calendar, or meeting scheduler.
To customize the sidebar:
- Go to Settings → Client Portal Settings.
- Click Sidebar.
Turning links on or off #
Toggle any default link on or off using the switch next to each item. For example, if you don’t want clients to see the Projects section, simply turn it off.
Reordering links #
Drag and drop any link to change its position in the sidebar. This lets you highlight the most important sections for your clients.
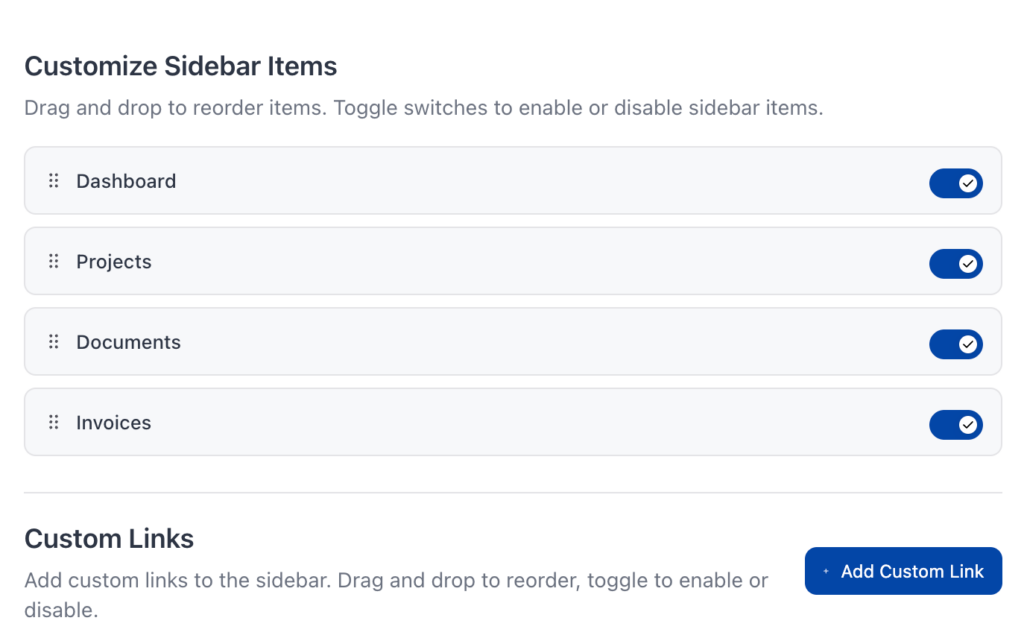
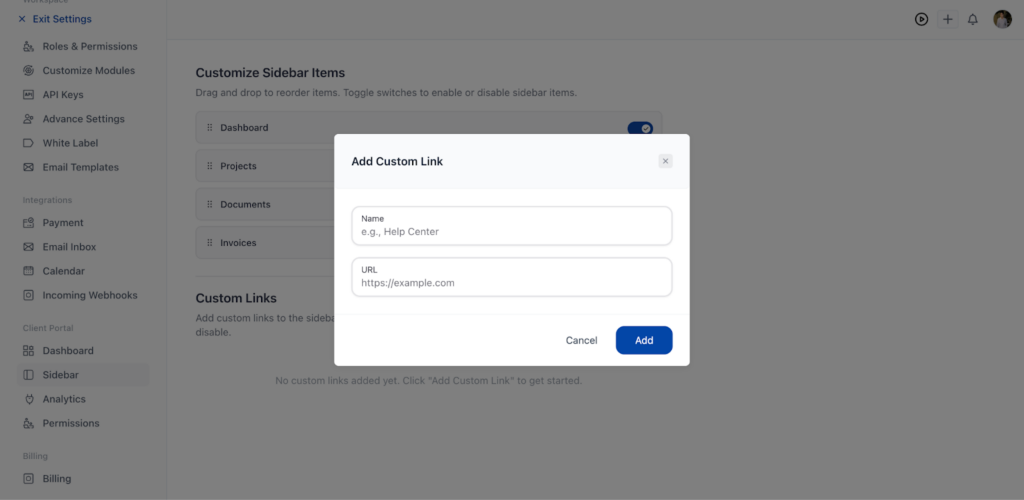
Adding custom links #
Click Add Custom Link to add any URL you want your clients to see in the sidebar alongside the default links. Common uses include:
- Your website
- A booking or calendar link
- A meeting link
- Any other resource specific to your client relationship
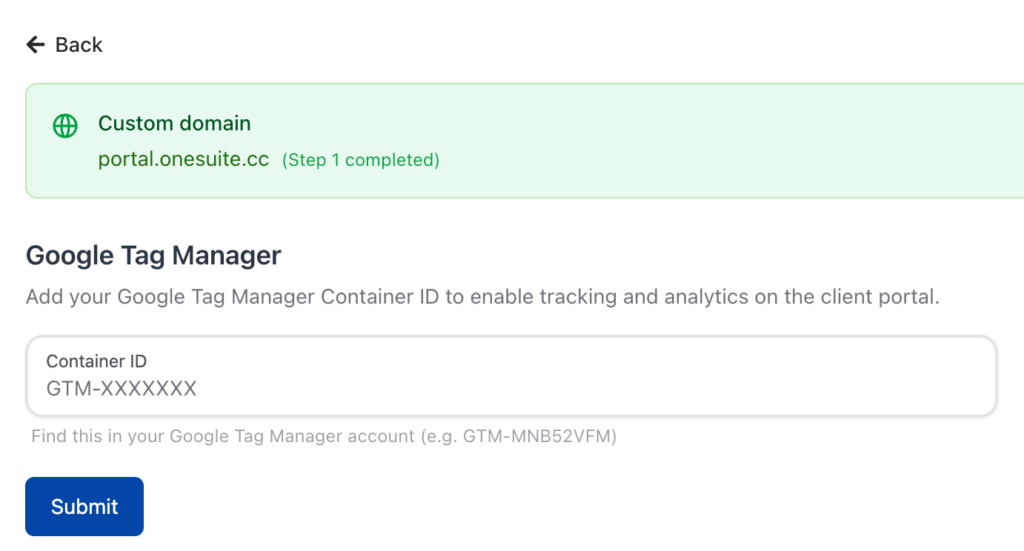
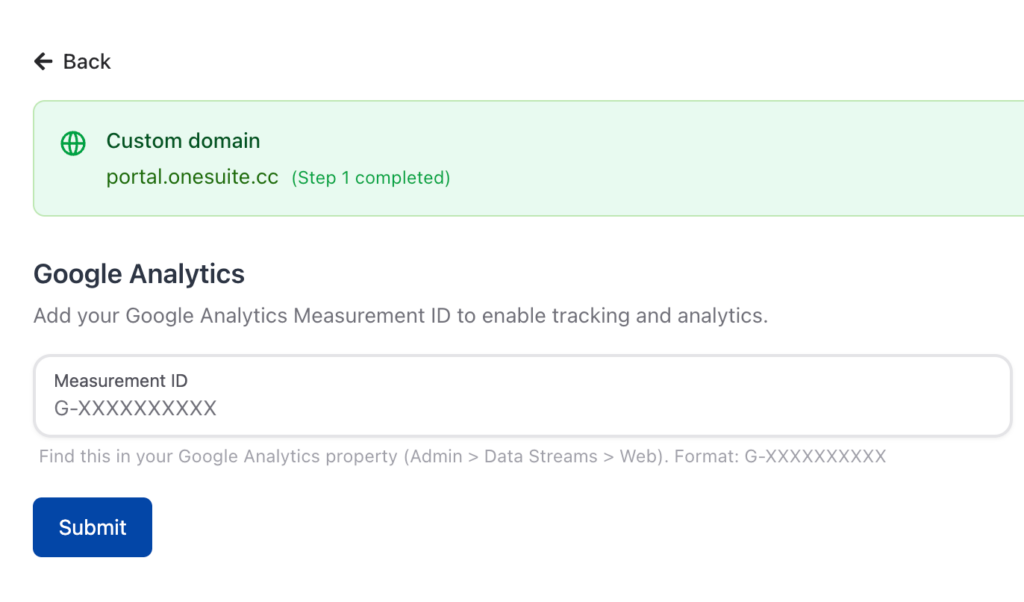
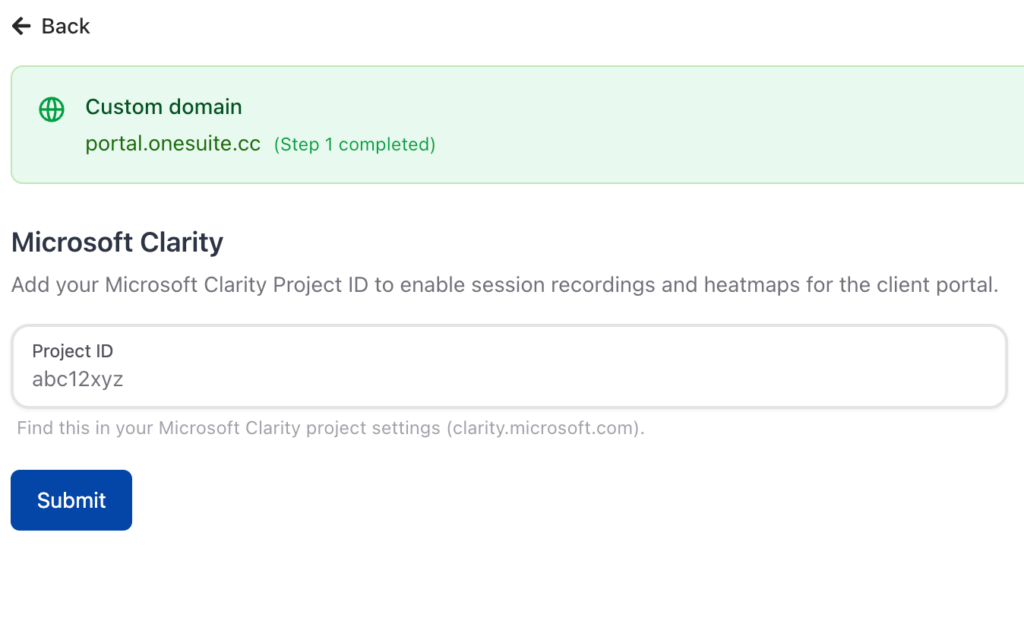
Analytics & Tracking Integrations #
OneSuite supports Google Tag Manager, Google Analytics, and Microsoft Clarity so you can track how clients interact with the portal.
To set up tracking:
- Go to Settings → Client Portal Settings.
- Click Settings within the Client Portal section.
- Enter your Google Tag Manager Container ID, Google Analytics tracking ID, or connect Microsoft Clarity as needed.

- Google Tag Manager Container ID
- Google Analytics tracking ID
- Microsoft Clarity
Note: Google Tag Manager only works on the white-label version of OneSuite with a custom domain. It will not function on the default OneSuite subdomain.
Client Portal Permissions #
If you have the Projects module enabled, you can control the level of access your clients have when viewing or interacting with their projects inside the portal.
To configure permissions:
- Go to Settings → Client Portal Settings.
- Locate the Client Portal Permissions section under the Projects module.
- Choose the appropriate access level for your clients.
Available access levels:
- View Only – Clients can see project details but cannot make changes.
- Create & Update – Clients can create tasks, add comments, reply to threads, and upload files.
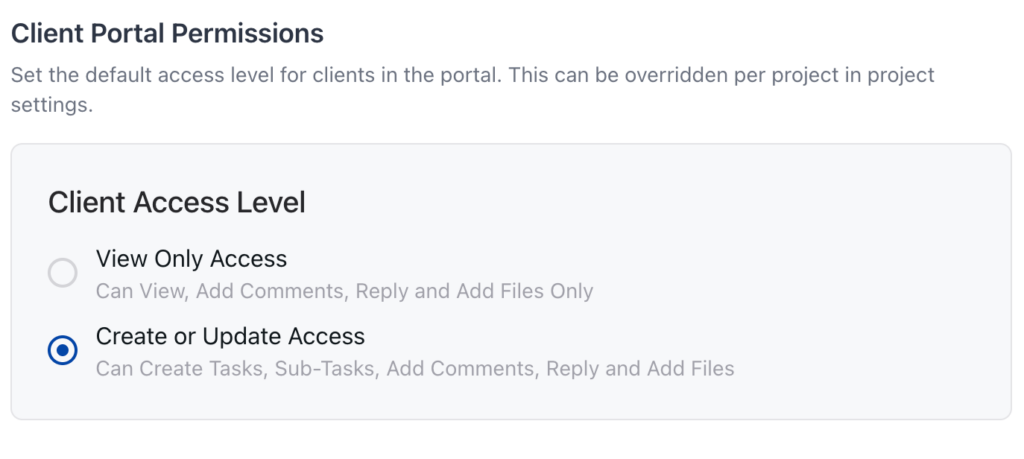
Choose the level that fits your workflow. View Only is suitable for most client relationships, while Create & Update works well when you want clients to actively collaborate on their deliverables.