Instead of wrestling with Word documents, PDFs, and separate signature tools, OneSuite lets you create, customize, and send professional proposals, contracts NDAs with built-in eSignatures in one place.
In this guide you’ll learn how to:
- Choose a proposal template from the library
- Customize it for your lead
- Add signature fields for all parties
- Send it and track when it’s viewed and signed
Navigate to Documents #
First, get to the Documents section where all your proposals live.
- Click Documents in the left sidebar
- You’ll see three options to start a new document
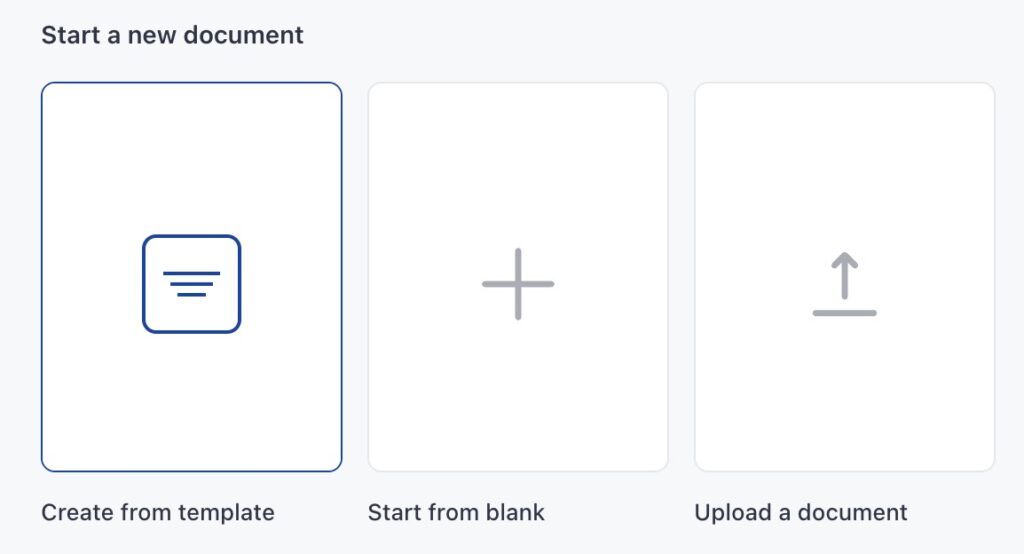
For your first proposal, we’ll use Create from template since it’s the fastest way to get started. Templates are pre-formatted and professionally designed, so you just need to add your specific details.
Note: OneSuite also lets you start from blank or upload an existing PDF. We’ll focus on templates for this Quick Start Guide.
Choose Your Template #
OneSuite provides a library of pre-built proposal templates organized by type and industry.
Steps to select a template:
- Click Create from template
- The Template Library opens, showing all available templates
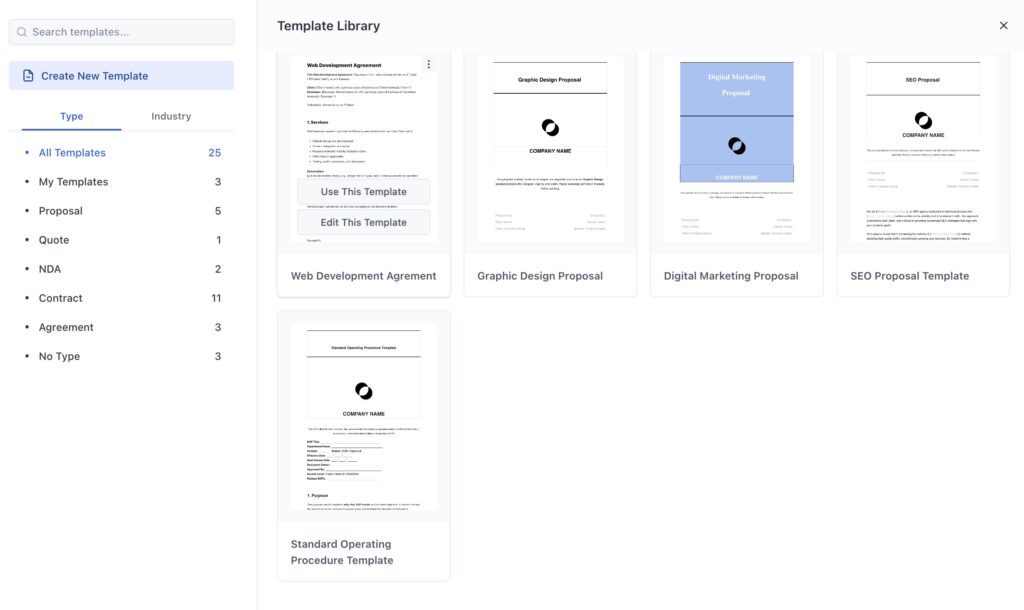
- Browse templates in two ways:
- By Type – Proposal, Quote, Contract, Agreement, NDA, etc.
- By Industry – Marketing Agencies, Design Agencies, Consulting, Development, and more
- Hover over any template to see a preview
- Click Use This Template when you find one that fits your business
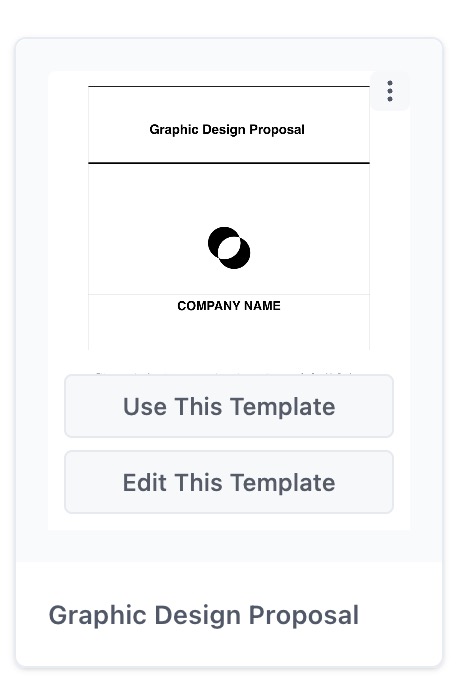
The template opens in OneSuite’s built-in document editor, ready for you to customize.
Customize Your Proposal #
Now personalize the template with your lead’s information and project details.
What you must update:
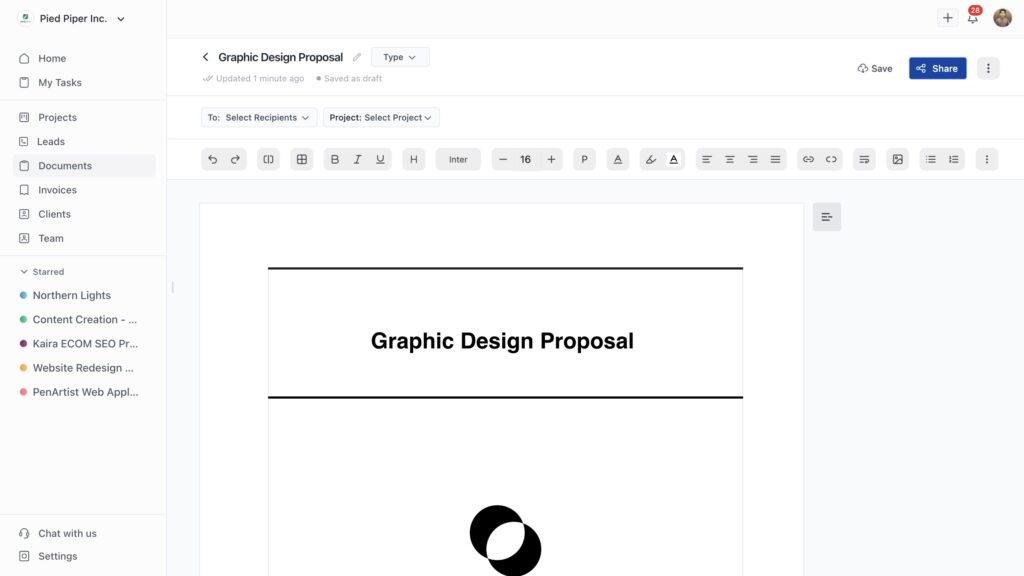
- Document Title – At the top, change the title to something specific (e.g., “Website Redesign Proposal – ABC Company”)
- Company Information – Your business details are often auto-filled from your settings, but double-check them
- Client Information – Replace placeholder text with your lead’s company name, contact details, and relevant information
- Project Scope – Describe exactly what you’ll deliver
- Pricing – Add your rates, line items, and total project cost
- Timeline – Include start date, milestones, and delivery dates
- Terms and Conditions – Review and adjust payment terms, cancellation policies, or other legal details
The editor toolbar at the top gives you formatting options like bold, italic, headers, alignment, and more. Use these to make your proposal look professional.
Select your recipient:
At the top of the editor, you’ll see To: Select Recipients.
- Click this dropdown
- Choose the lead you want to send this proposal to
- OneSuite will use this person as one of the parties who needs to sign
Optional project assignment:
You’ll also see Project: Select Project. Since you haven’t created a project yet (that’s coming in the next article), you can skip this for now.
Add Signature Fields #
Make your proposal legally binding by adding eSignature fields for all parties.
Steps to add parties and signature fields:
- Look at the floating navigation where it says Parties
- You’ll see two default parties listed:
- 1st Party – That’s you (the provider/sender)
- 2nd Party – Your client (the recipient/signer)
- The lead you selected earlier should already appear as the 2nd Party
- If you need to add more signers, click Add new party at the bottom
Add signature fields to your document:
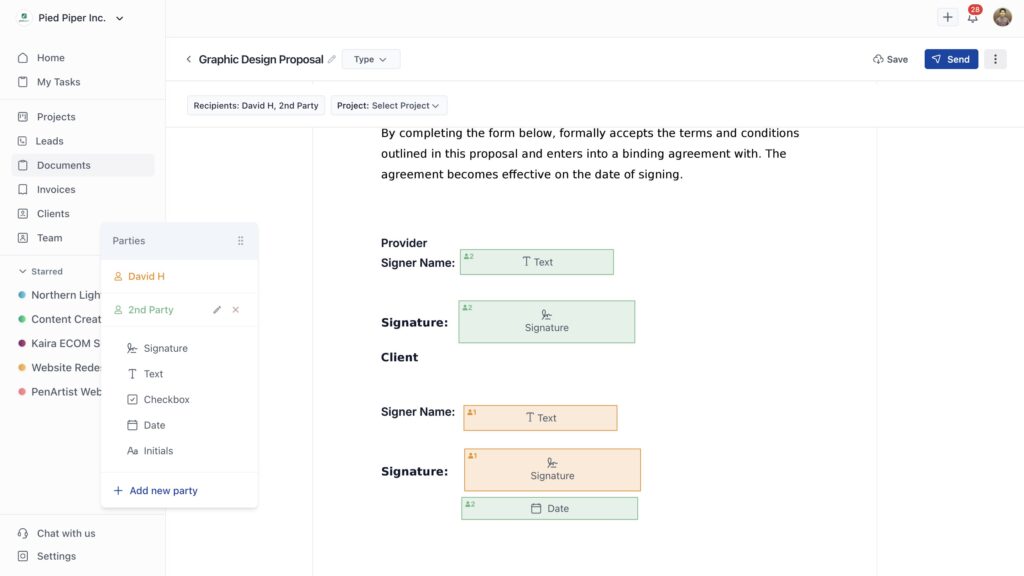
- In the left panel under the party names, you’ll see field options:
- Signature – For electronic signatures
- Text – For typed information like names
- Checkbox – For agreement confirmations
- Date – For signing dates
- Initials – For initialing specific sections
- Click on a field type (like Signature) and drag to your designated position of the document.
- Your cursor changes, allowing you to place the field anywhere in the document
- Click where you want the field to appear (usually at the end of the proposal)
- The field appears color-coded by party (different colors for 1st Party vs. 2nd Party)
In the document, you’ll see signature fields highlighted with party indicators showing who needs to sign where. Most templates already have signature sections at the end, making it easy to place your fields.
💡 Tip: Add a Text field for “Signer Name” and a Date field next to each signature field. This creates a complete signing section with name, signature, and date.
Save and Send Your Proposal #
Once everything looks good, it’s time to send.
Steps to send:
- Click Save in the top right to save your progress
- When you’re ready to send, click Share (or Send button)
- You’re taken to the signer confirmation screen
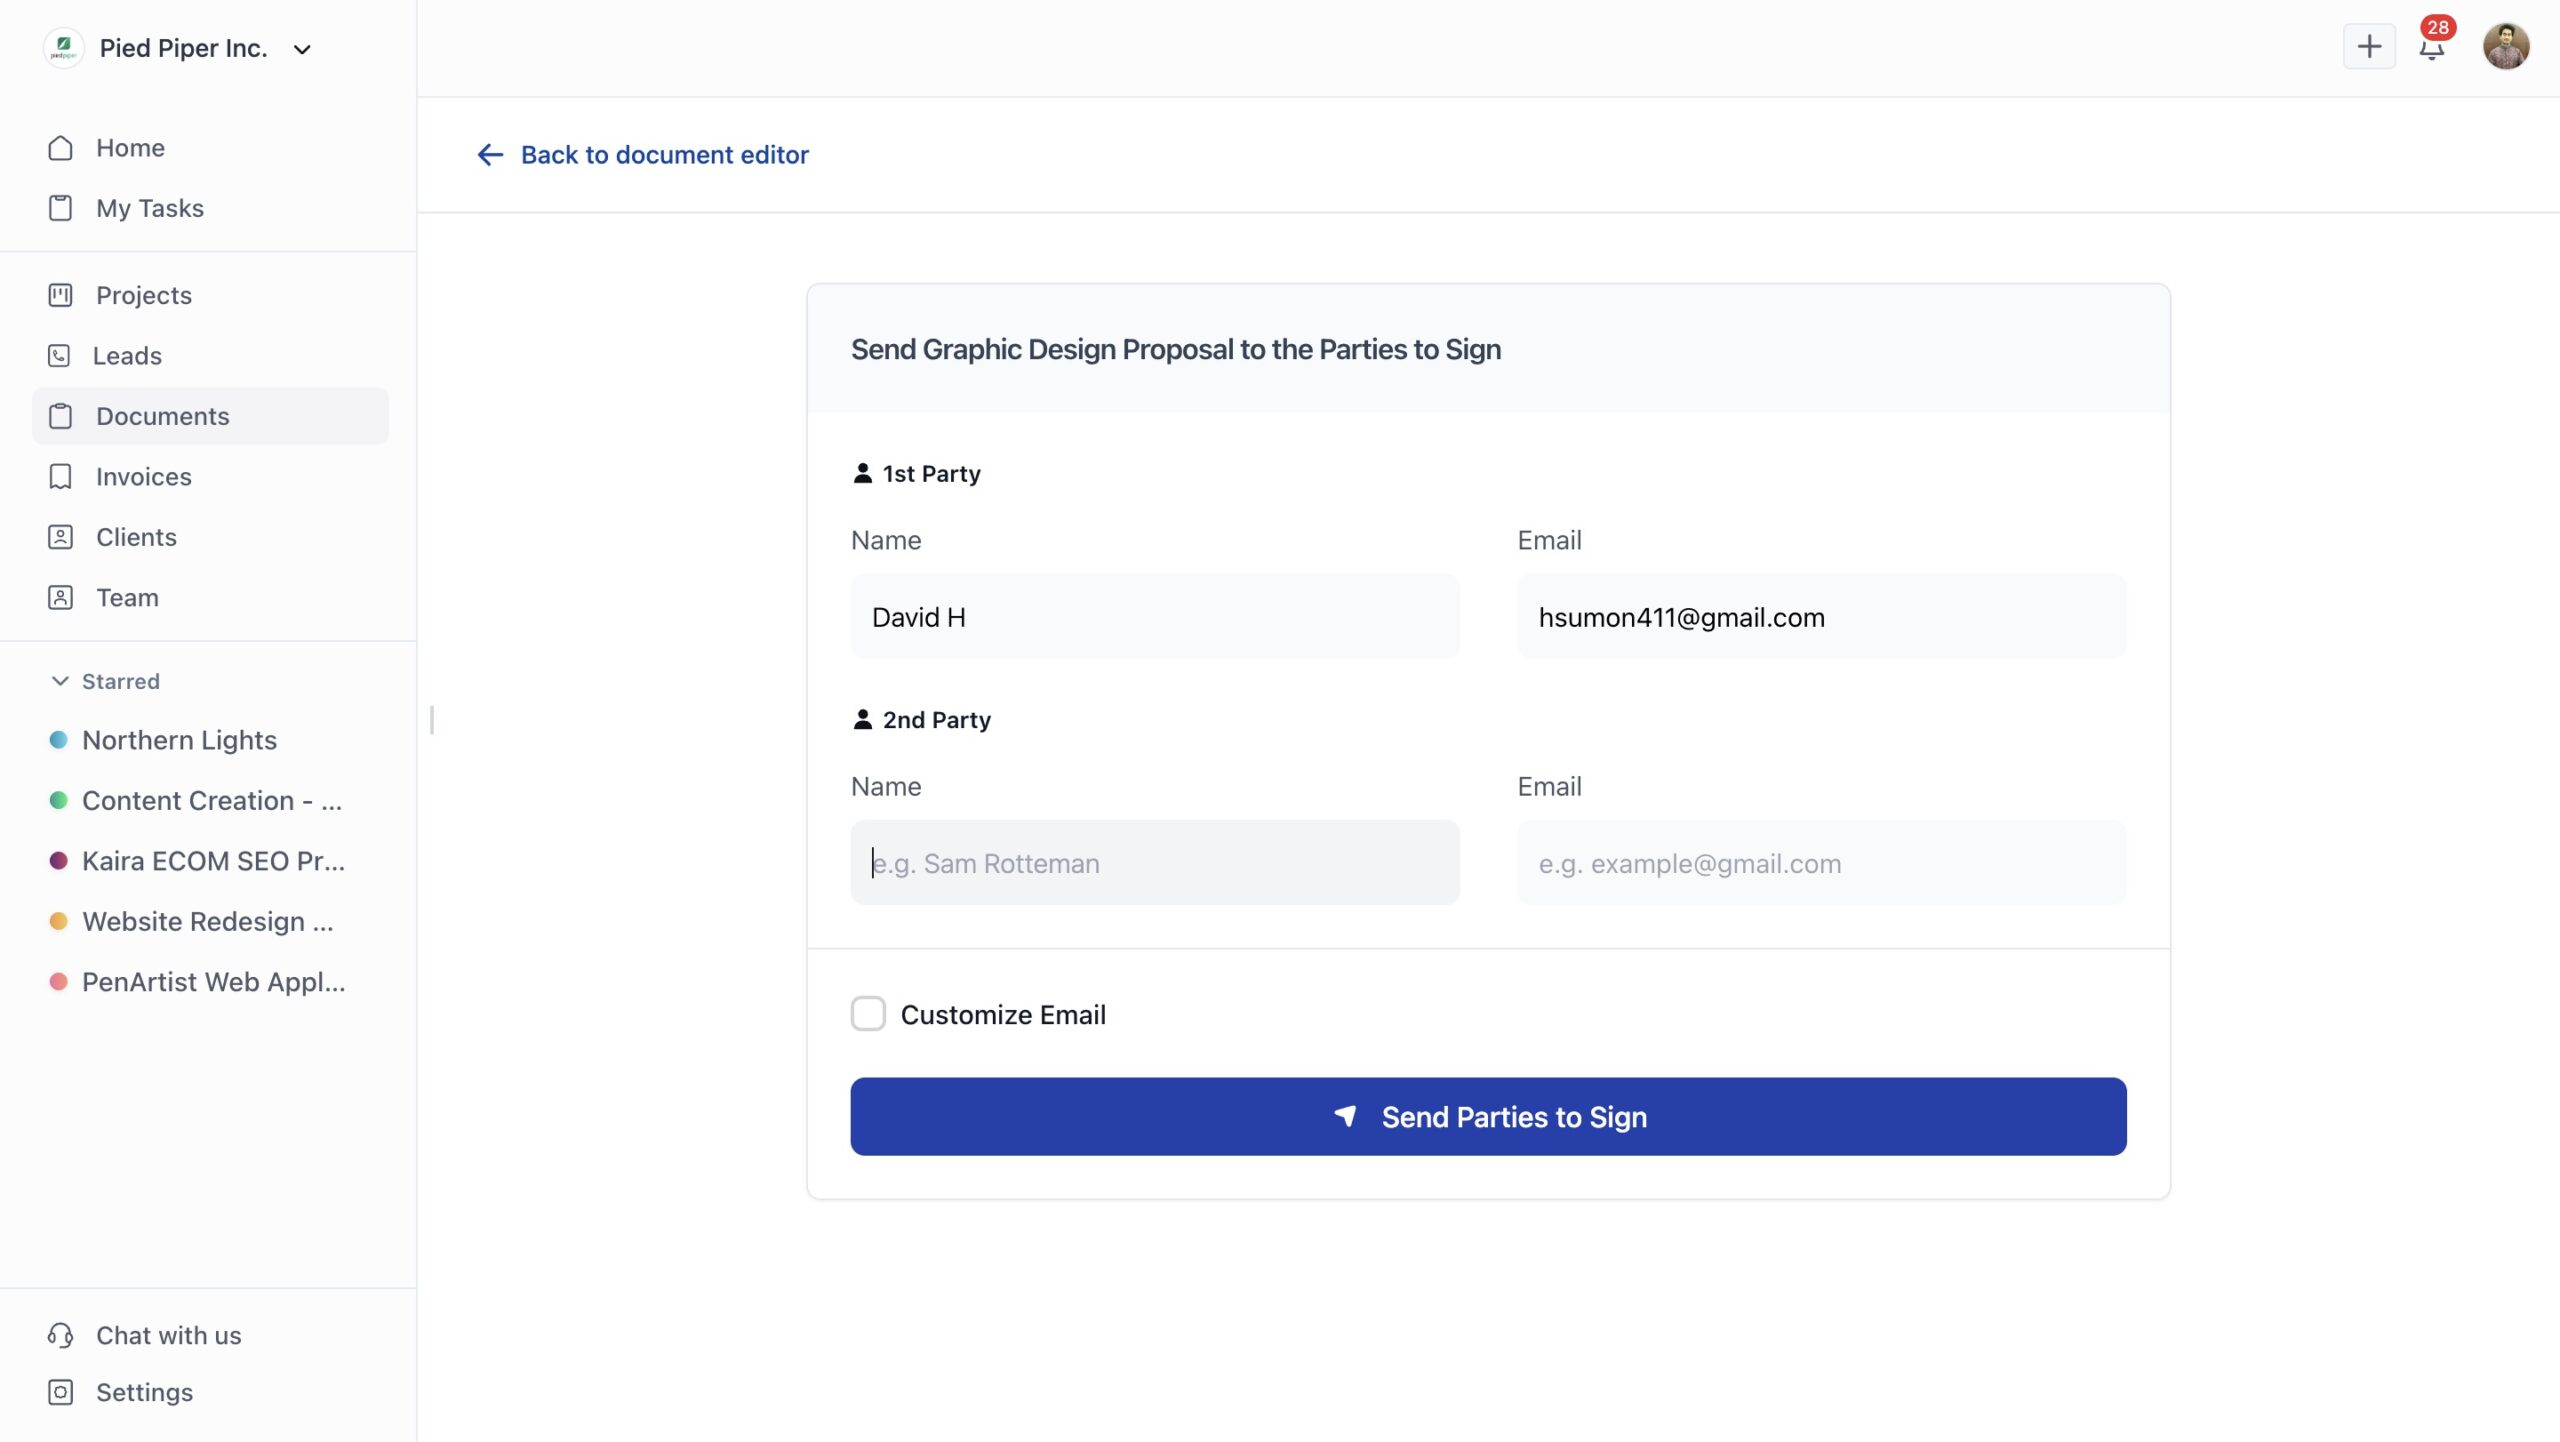
On the signer confirmation page:
- The lead you selected earlier appears pre-populated as 2nd Party
- Review the information:
- Name – The recipient’s full name
- Email – Where they’ll receive the signing link
- If you need to change the signer, click in the name or email field to edit
- You can also select a different person from your CRM or client list
- If you have multiple signers (up to 10 parties), add them all here
Customize the email (optional but recommended):
- Check the Customize Email box
- Write a personal message explaining the proposal
- This shows up in the email your lead receives, making it more personal than a generic notification
Final step:
Click Send Parties to Sign at the bottom.
OneSuite sends an email to all parties with a link to view and sign the proposal. No account or registration required on their end.
What Your Lead Sees #
When your lead receives the email, here’s their experience:
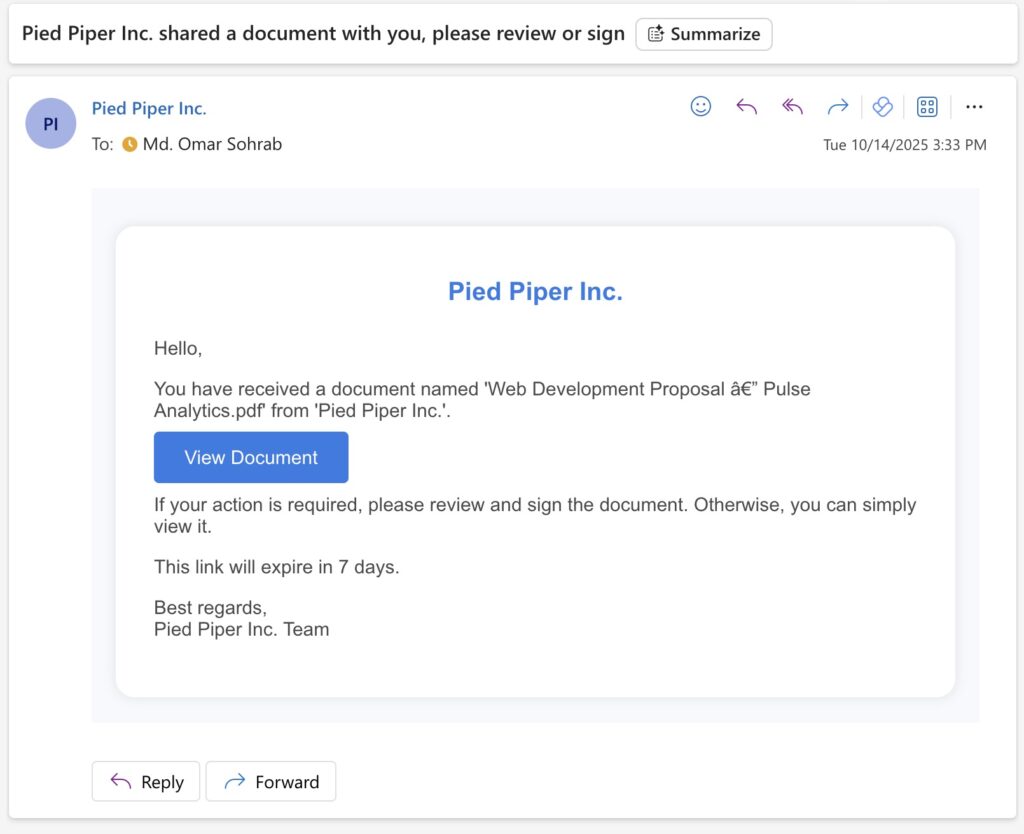
- They get an email notification from your business name
- If you don’t customize the email text, a default email will be sent. You can also change the default email message from document customization.
- They click the View Document button
- A preview window opens in their browser
- They can review the entire proposal
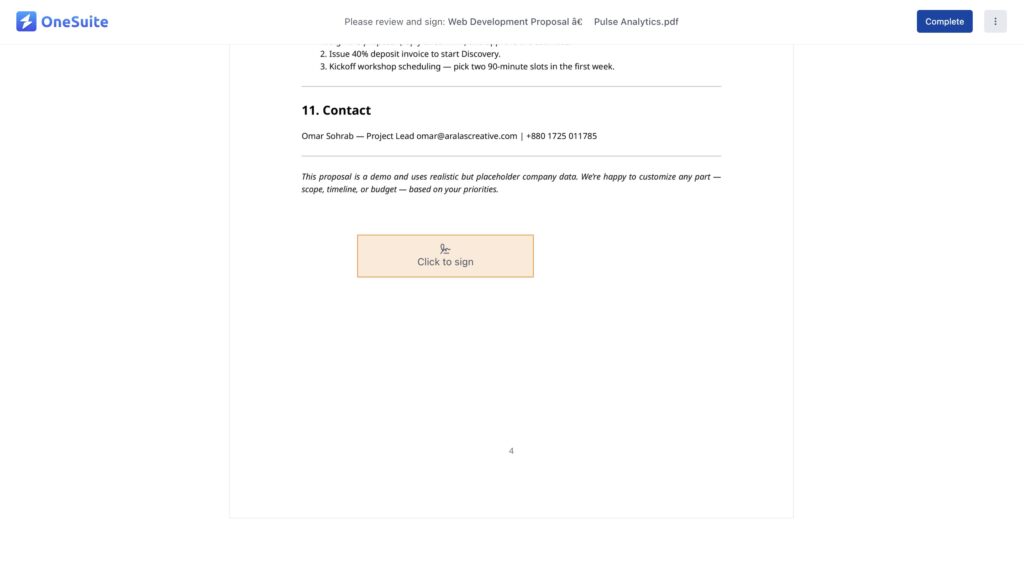
- Signature fields are highlighted and easy to find
- They click Click to sign on the signature field
- They choose how to sign (draw, type, or upload)
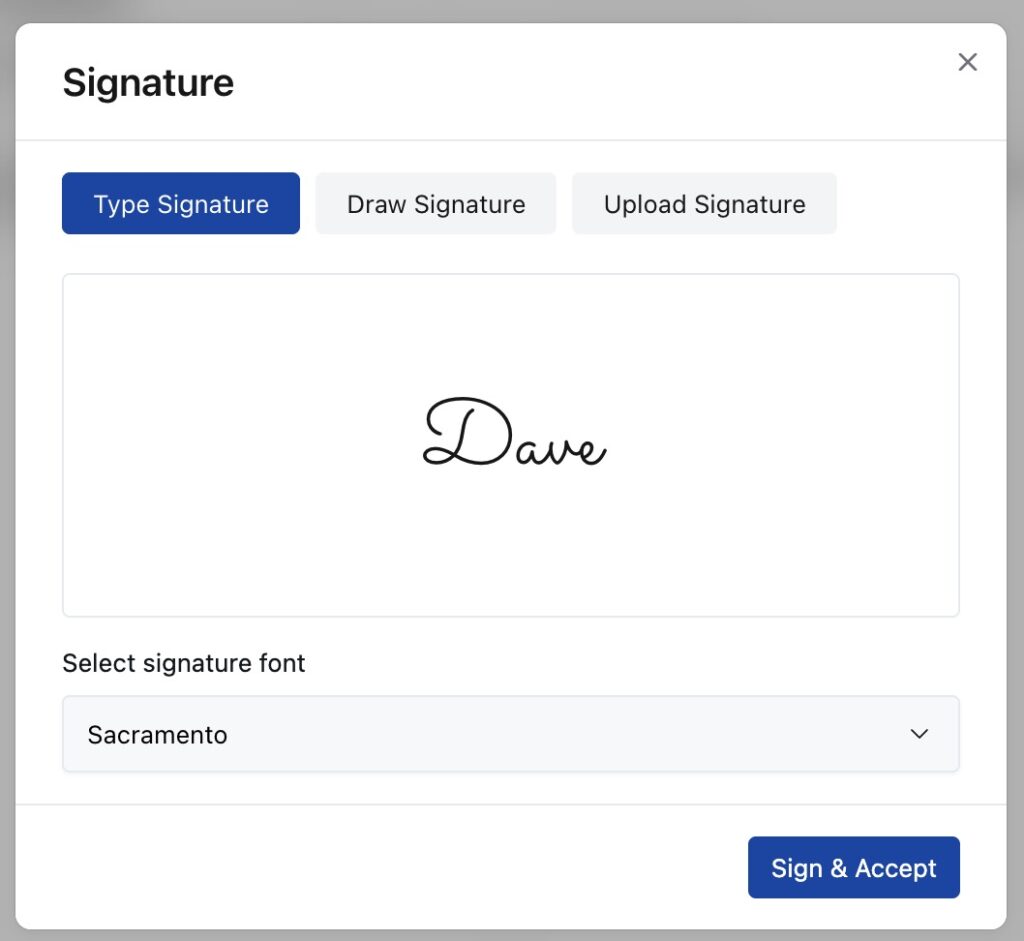
- After signing all required fields, they click Complete
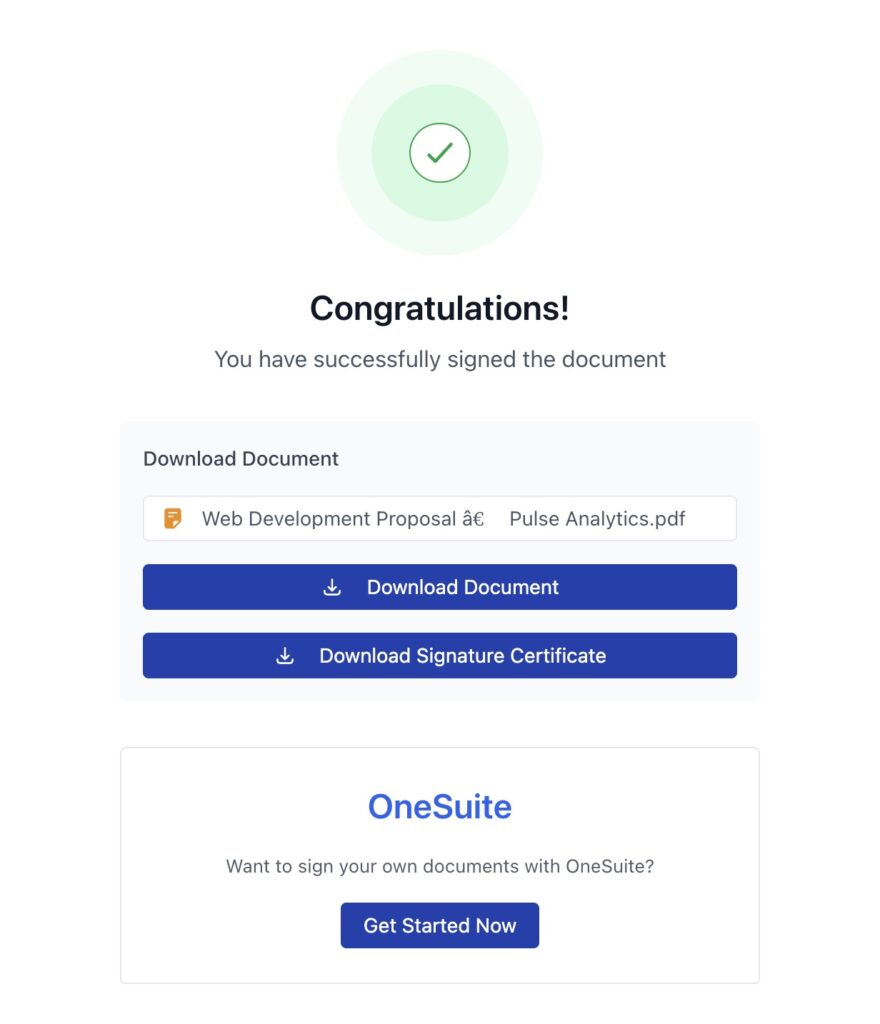
Once they sign, they see a confirmation screen and can download the signed document. You receive an automatic notification that the proposal was signed.
Track Your Proposal #
After sending, OneSuite tracks everything that happens with your proposal.
Check the status:
- Go back to Documents in the left sidebar
- Find your proposal in the list
- Look at the Status column to see:
- Sent – Document delivered to the lead’s inbox
- Viewed – Lead opened and viewed the proposal
- Partially Signed – Some parties have signed, others haven’t
- Completed – All parties completed their signatures
View the audit log:
- Click the Action menu (three dots) next to your document
- Select Audit log
- You’ll see a complete timeline:
- When the document was saved
- When it was sent
- When each party viewed it
- When each party signed it
- Exact timestamps for every action
This tracking helps you know when to follow up. If a lead viewed your proposal but hasn’t signed, you know they’re interested and just need a gentle reminder.
What You Just Accomplished #
You’ve created and sent a professional proposal with built-in eSignatures. Your lead can review and sign it with just a few clicks from any device, and you’ll know exactly when they engage with it.
No more printing, scanning, or chasing signatures. Everything happens digitally, securely, and automatically.
Related Resources #
- Creating Documents from Scratch – Build custom proposals without templates
- Uploading a PDF Document – Add eSignatures to existing documents
- Documents Overview – Complete guide to the Documents module
- Setting Up eSignatures – Advanced signature field options