Your business setup is complete and your payment methods are configured. Now it’s time to add the people you want to work with. Whether you have one lead or a hundred, OneSuite gives you flexible ways to get them into your CRM.
In this guide you’ll learn how to:
- Add leads one at a time with Quick Add
- Import multiple leads from a spreadsheet
Navigate to Your CRM #
Before adding leads, you need to get to the right place:
- Click Leads in the left sidebar
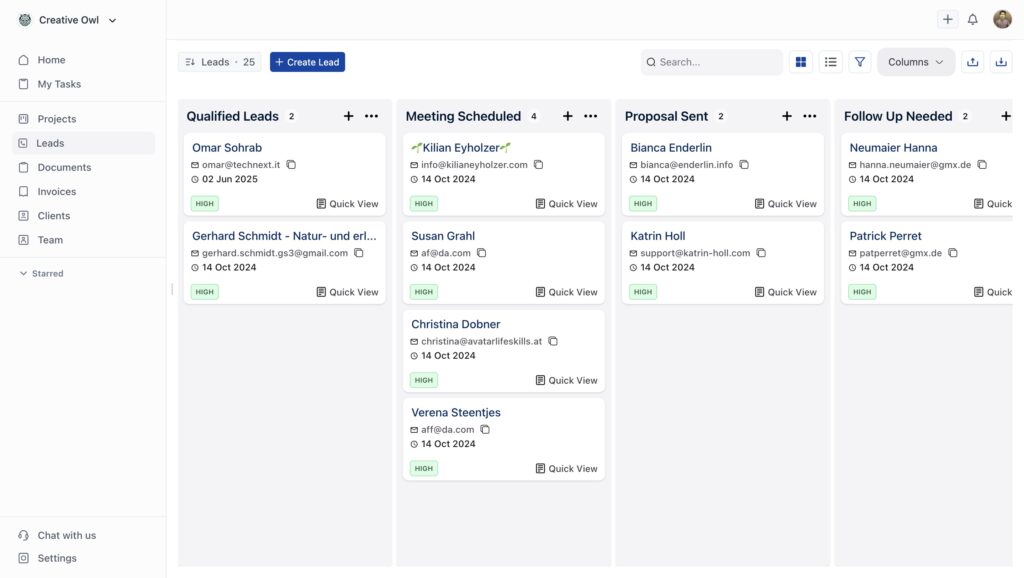
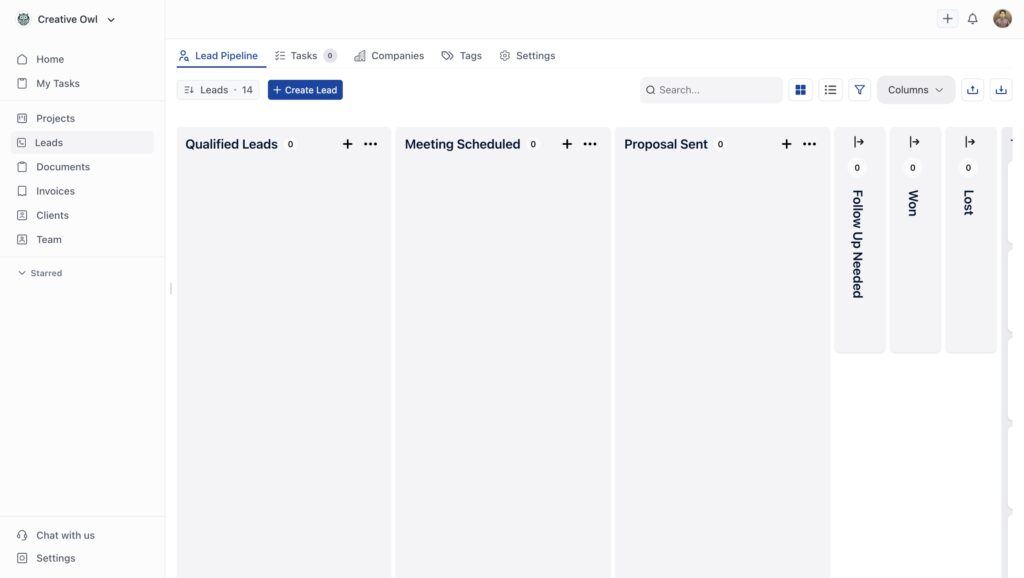
- Your customized pipeline appears with the stages you created during business setup
You’ll see your pipeline stages displayed across the top. This is where all your leads will live and move through your sales process. If you skipped the onboarding process, then create stages based on your preferences.
Method 1: Quick Add (For Individual Leads) #
Use this when you’re adding leads one at a time, like after a networking event or phone call.
Steps to add a lead:
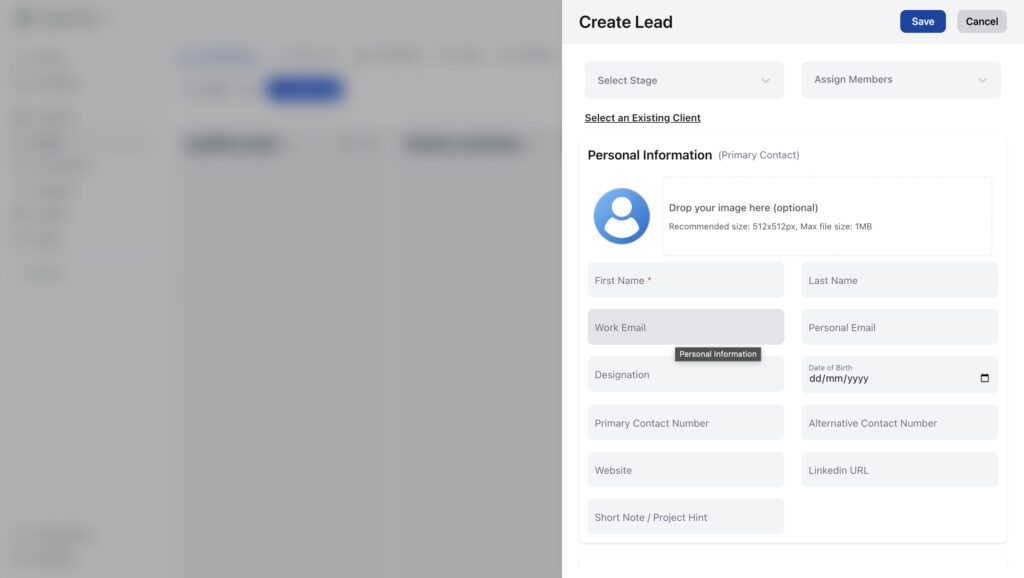
- Click the Create Lead button in the top right
- Fill in the lead details in the form that appears:
- First Name and Last Name – The person’s full name
- Work Email – Their primary email address (required)
- Designation – Their job title
- Primary Contact Number – Their phone number
- Website and LinkedIn URL – Professional links (optional)
- Short Note / Project Hint – Any context about this lead
- Use the dropdown at the top to Select Stage where this lead should start
- Click Assign Members if you want to assign this lead to a team member
- Click Save
Your new lead appears in the selected stage of your pipeline, ready to be worked.
💡 Tip: You can upload a profile image for each lead to make them easier to recognize at a glance. This is optional but helps personalize your pipeline view.
Method 2: Import Multiple Leads (For Bulk Adding) #
When you have multiple leads in a spreadsheet, importing saves you from manual entry.
Steps to import leads:
- Click Leads in the left sidebar
- Look for the import option in the Leads section

- Click to start the import process
- You’ll see the import screen where you can drag and drop your file

Drop your CSV or Excel file in the upload area (or click to browse)
- Max file size: 10MB
- Supported formats: .csv, .xls, .xlsx
- Max items: 2000 leads per import
Choose what happens if a lead already exists:
- Skip updating the lead (recommended for first import)
- Update the lead (if you want to refresh existing data)
Choose whether to receive a notification email when import completes Click Import
Mapping your fields:
After uploading, OneSuite shows you a field mapping screen where you match your spreadsheet columns to OneSuite fields.
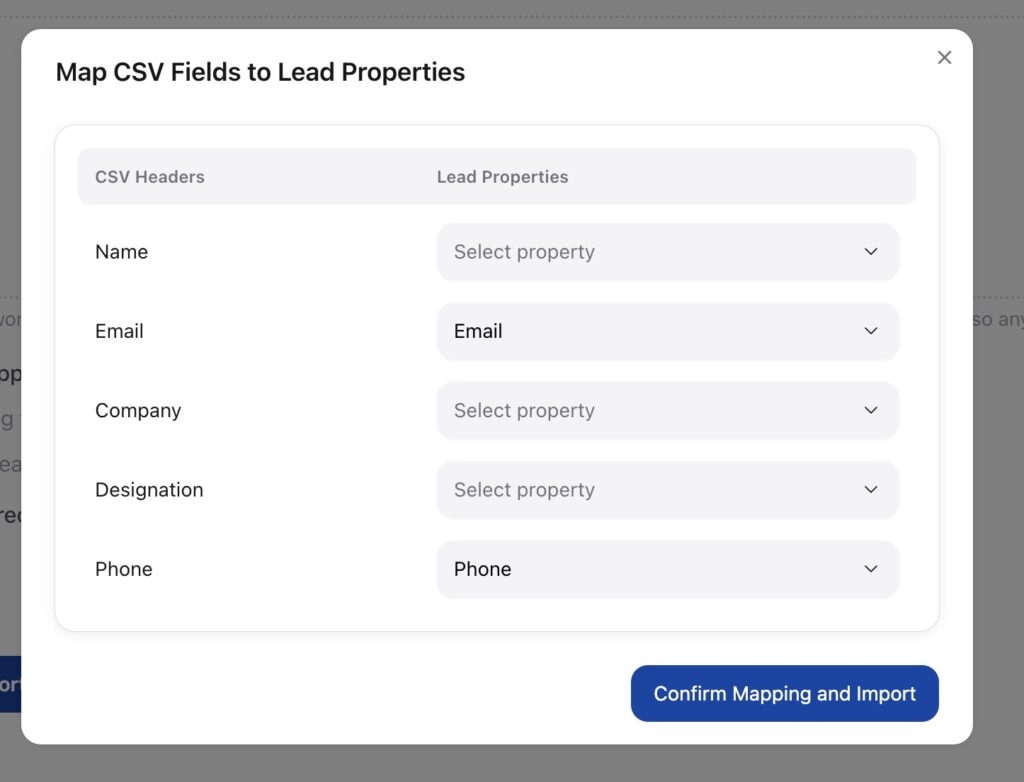
OneSuite usually guesses correctly, but double-check that:
- Your “Name” column maps to the name field
- Your “Email” column maps to Email
- Your “Company” column maps to Company
- Other columns map to appropriate fields
Click Confirm Mapping and Import when everything looks right.
Import results:
OneSuite processes your file and shows you detailed results.
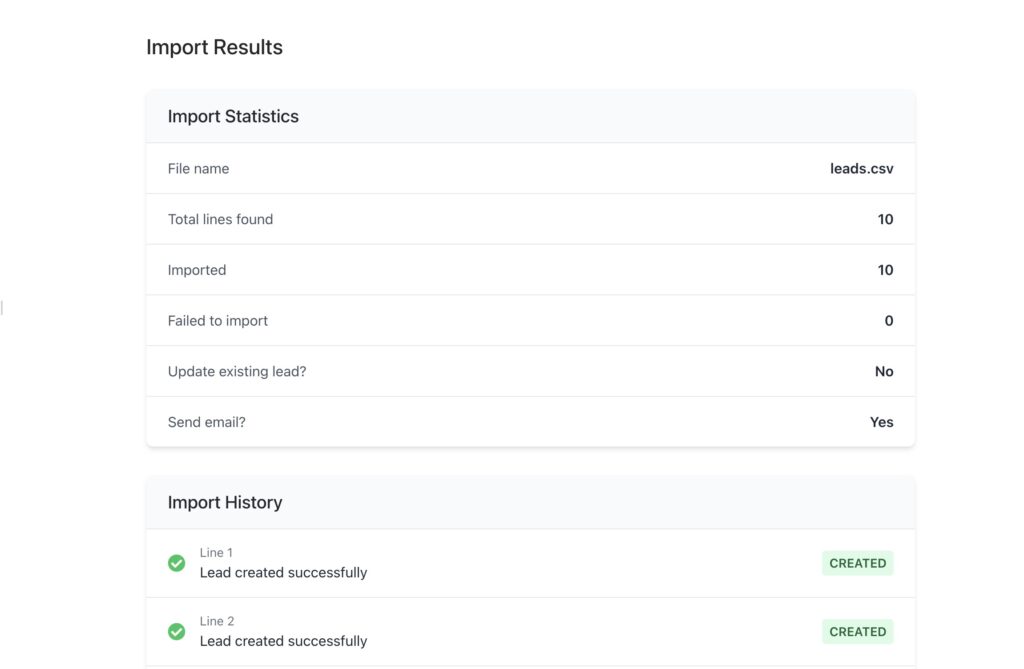
You’ll see:
- Total lines found in your file
- How many were imported successfully
- How many failed (if any)
- A line-by-line history showing what happened
⚠️ Important: Make sure your CSV includes email addresses. Email is the primary identifier for leads in OneSuite, so leads without emails may not import correctly.
Common import tips:
- Clean your data before importing (remove duplicates, fix typos)
- Use consistent formatting for phone numbers and dates
- Start with basic fields (name, email, company) on your first import
- You can always add more details later
What You Just Accomplished #
Your leads are now organized in your customized pipeline, ready to be worked through your sales process. Each lead sits in the stage you selected (or your default first stage), waiting for you to take the next action.