While sending invoices, we often need to personalize the email message for each client. Sometimes you may want to mention a specific project, add a thank-you note, or include a quick reminder about the payment timeline. OneSuite makes this easy by letting you:
- Set a default email message for all invoices
- Customize the message for individual invoices before sending
This way, you can keep your communication consistent while still adding personal touches when needed.
How to set your default invoice email message #
To save time and maintain consistency across your client communications, OneSuite lets you define a default email message that automatically fills in every time you share an invoice.
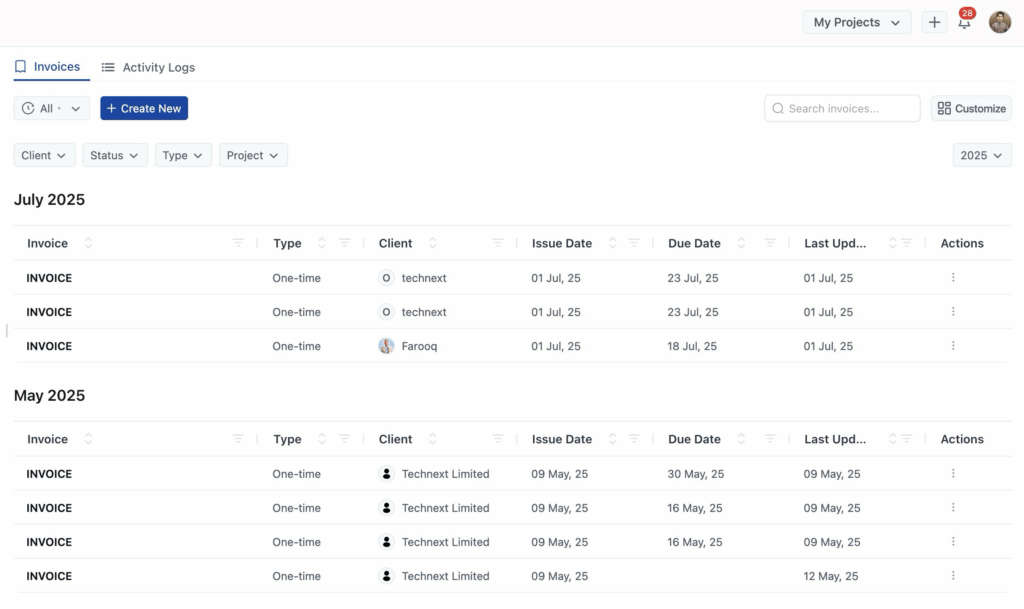
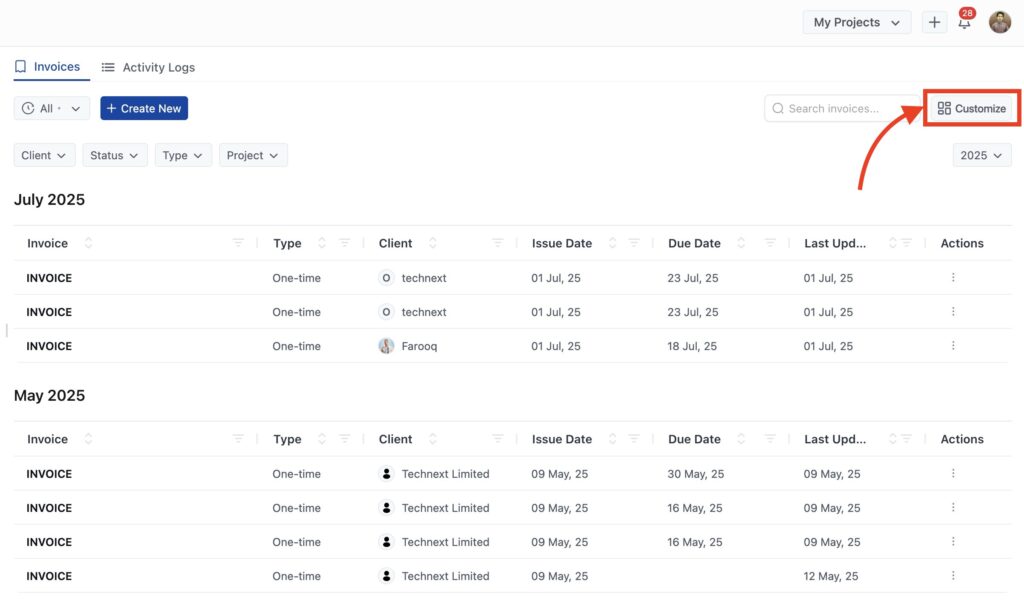
This is the main screen where all your invoices are listed.
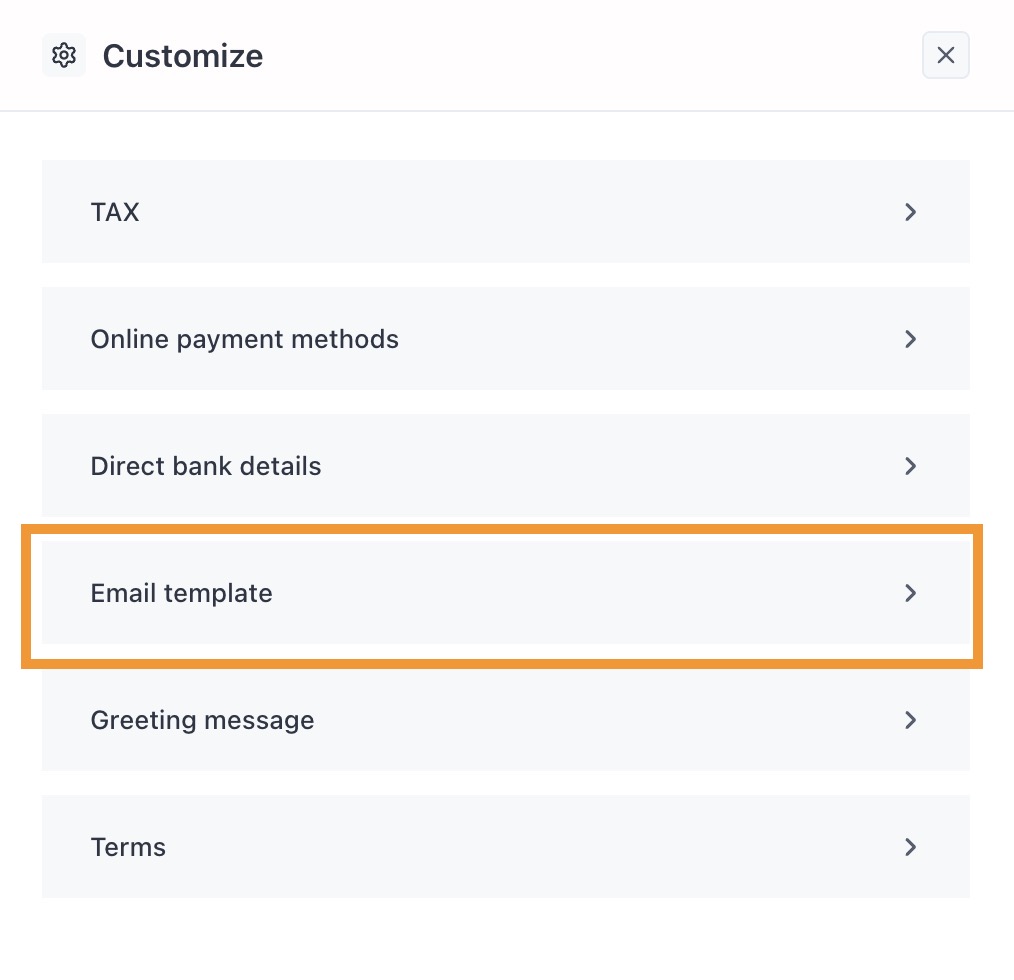
A sidebar will open, showing several tabs to manage your invoice settings.
This is where you can define the default message that gets sent with every invoice.
You can write a short note or paragraph to your client.
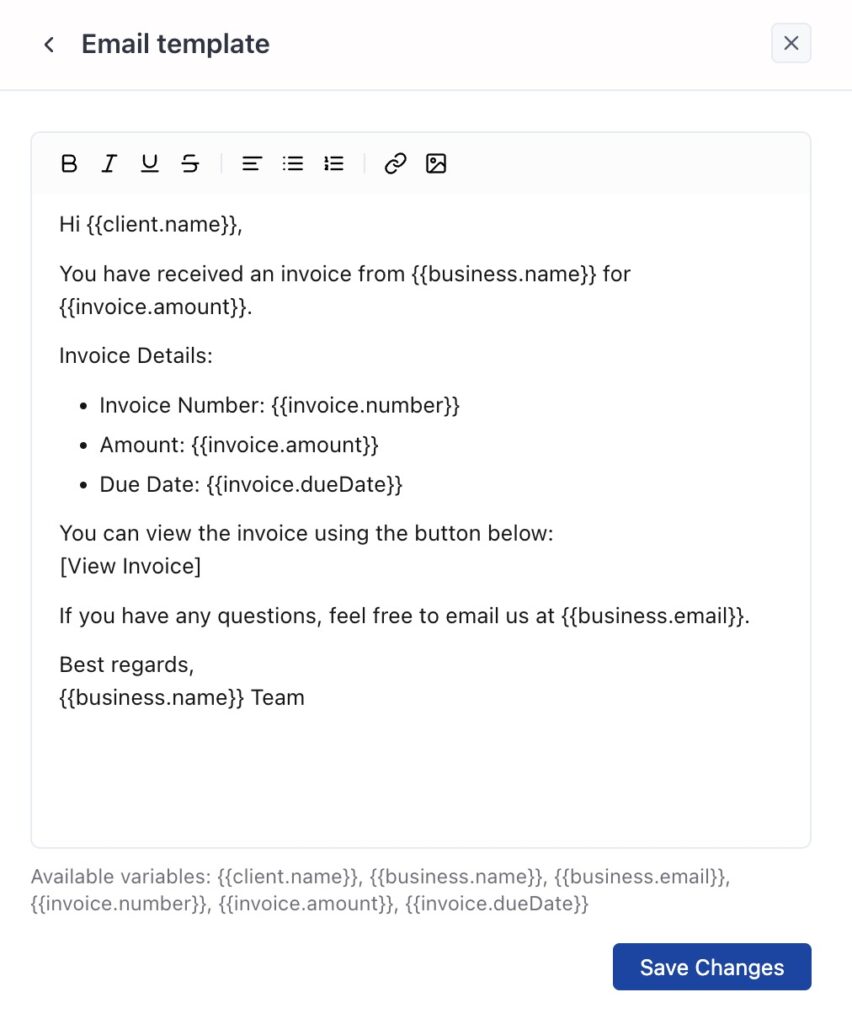
The editor supports basic formatting and smart variables (see below).
Available smart variables
These placeholders will be automatically replaced with real data when the email is sent:
| Variable | Description |
|---|---|
{{client.name}} | Client’s full name |
{{business.name}} | Your business name |
{{business.email}} | Your business email |
{{invoice.number}} | The invoice number |
{{invoice.amount}} | The total amount due |
{{invoice.dueDate}} | The invoice due date |
Click “Save Changes”
Your message will be saved and automatically applied to all invoices going forward.
Customize the Message Before Sending an Invoice #
There may be times when you want to personalize the email for a specific client or project, for example, to mention deliverables, add payment reminders, or say thanks.
You can do this during the invoice sharing process.
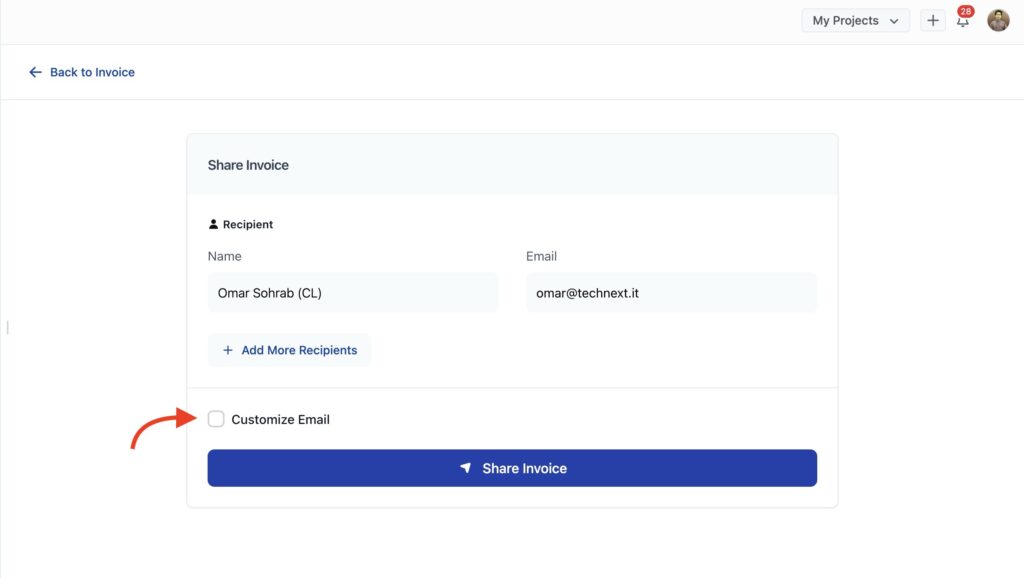
At the bottom of the share screen, check the Customize Email box.
Once enabled, you can edit both the email subject and email message for this particular invoice. You can still use the dynamic variables like {{client.name}} and {{invoice.amount}}.
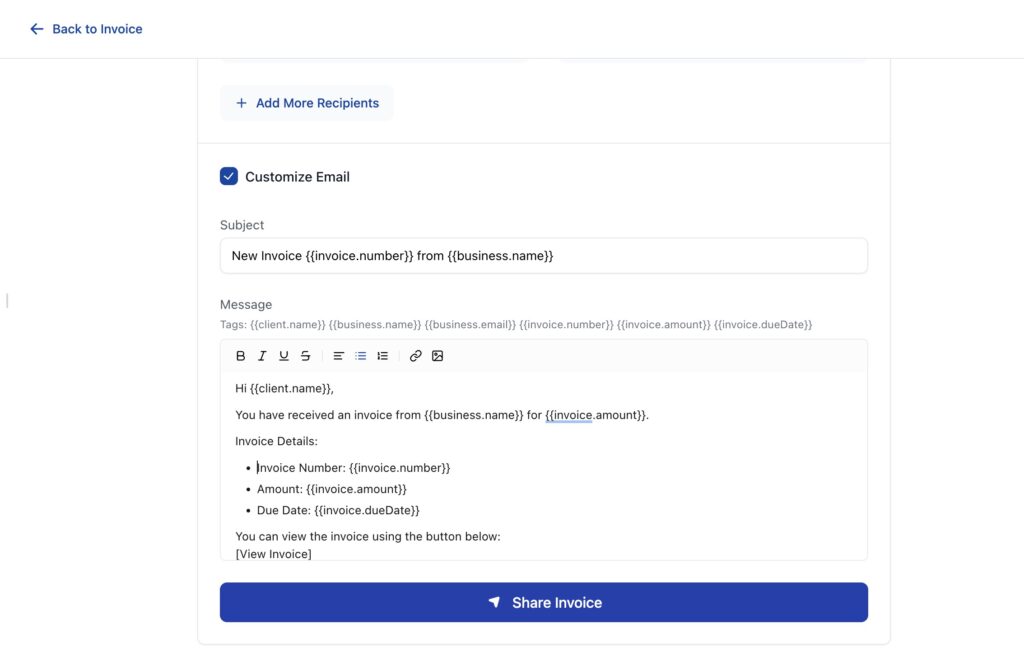
Once you’re satisfied with the message, click the Share Invoice button to send the invoice along with your customized email.